For 1990-2009 cars only
Hood Primary Latch Release Cable Replacement for Cadillac DeVille 1998
Removal Procedure
- Remove the upper filler panel. Refer to Filler Panel Replacement - Upper .
- Remove the air cleaner assembly. Refer to Air Cleaner Assembly Replacement in Engine Controls.
- Remove the engine compartment fuse and relay center cover.
- Remove the release cable from the primary latch.
- Remove the clips from the cable.
- Route the cable along the body rail toward the rear of the vehicle.
- Push the cable and the grommet into the passenger compartment.
- Remove the left sound insulator. Refer to Instrument Panel Insulator Panel Replacement - Left Side in Instrument Panel, Gauges and Console.
- Remove the hood primary latch release handle. Refer to Hood Primary Latch Release Cable Handle Replacement .
- Remove the release cable from the handle.
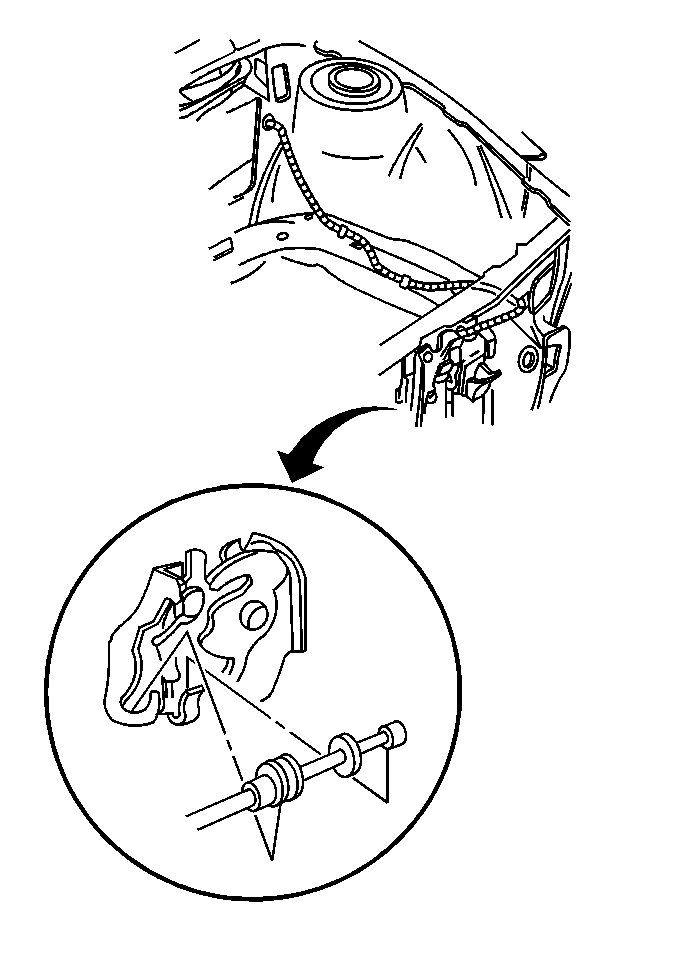
Important: Tie a string around the cable before you remove the cable from the vehicle in order to ensure proper routing and ease of installation.
Installation Procedure
- Install the release cable to the handle.
- Install the hood primary latch release handle.
- Install the grommet to the cowl panel.
- Install the left sound insulator. Refer to Instrument Panel Insulator Panel Replacement - Left Side in Instrument Panel, Gauges and Console.
- Route the cable along the body rail to the front of the vehicle.
- Install the release cable to the primary latch.
- Install the engine compartment fuse block cover.
- Install the air cleaner assembly. Refer to Air Cleaner Assembly Replacement in Engine Controls.
- Install the upper filler panel. Refer to Filler Panel Replacement - Upper .
Turn the grommet to the right in order to ease installation.
