Lower Control Arm Ball Joint Replacement for Chevrolet Blazer - 4WD - RHD 2000
Removal Procedure
- Raise and support the vehicle under the lower control arms with safety stands. Refer to Lifting and Jacking the Vehicle in General Information.
- Remove the tire and wheel. Refer to Tire and Wheel Removal and Installation in Tires and Wheels.
- Remove the wheel drive shaft. Refer to Wheel Drive Shaft Replacement in Wheel Drive Shafts.
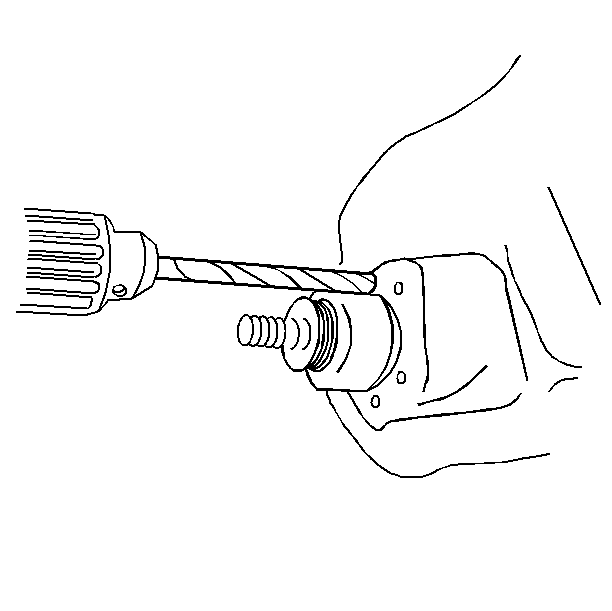
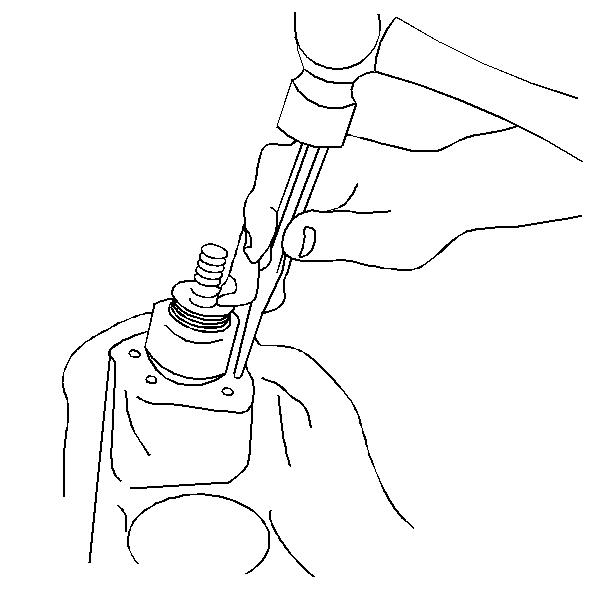
- Remove the rivets from the lower ball joint.
- Drill the rivet heads away using a 12.7 mm (½ in) drill.
- Remove the rivets using a pin punch.
- Remove the lower ball joint.
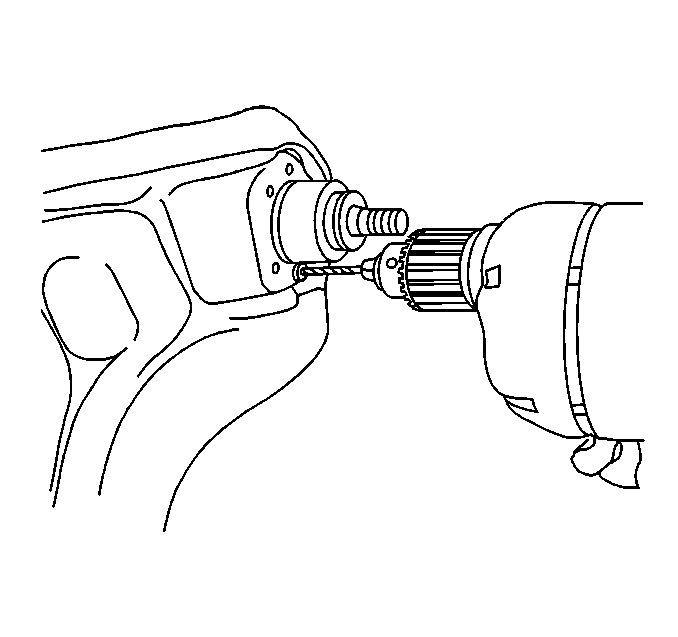
Caution: Floor jack must remain under the lower control arm during removal and installation to retain the lower control arm in position. Failure to do so could result in personal injury.
Use a 3.175 mm (1/8 in) drill to cut a 6.35 mm (¼ in) deep hole in the center of each rivet.
Installation Procedure
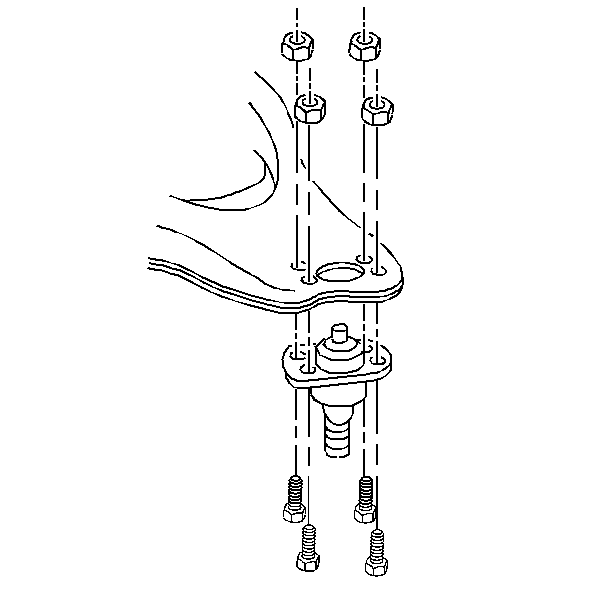
- Install the lower ball joint to the control arm.
- Install the lower ball joint retaining bolts and nuts.
- Install the wheel drive shaft. Refer to Wheel Drive Shaft Replacement in Wheel Drive Shafts.
- Install the tire and the wheel. Refer to Tire and Wheel Removal and Installation in Tires and Wheels.
- Lower the vehicle.
- Check the front wheel alignment. Refer to Wheel Alignment Measurement in Wheel Alignment.
Notice: Use the correct fastener in the correct location. Replacement fasteners must be the correct part number for that application. Fasteners requiring replacement or fasteners requiring the use of thread locking compound or sealant are identified in the service procedure. Do not use paints, lubricants, or corrosion inhibitors on fasteners or fastener joint surfaces unless specified. These coatings affect fastener torque and joint clamping force and may damage the fastener. Use the correct tightening sequence and specifications when installing fasteners in order to avoid damage to parts and systems.
Tighten
Tighten the lower ball joint retaining nuts to 23 N·m (17 lb ft).
