For 1990-2009 cars only
Low and Reverse Band Servo Piston Pin Check for Chevrolet Classic 2006
Tools Required
| • | J 21370-10 Band Apply Pin Gage |
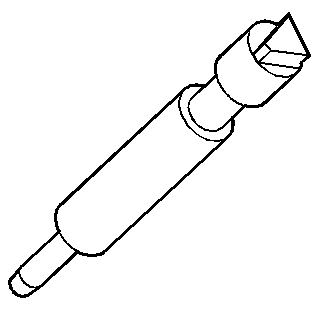
| • | J 38737 Band Apply Pin Checking Tool |
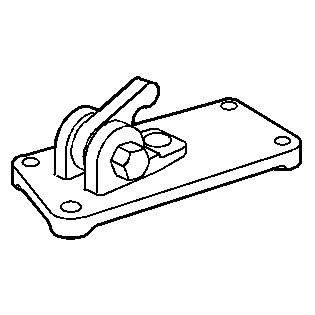
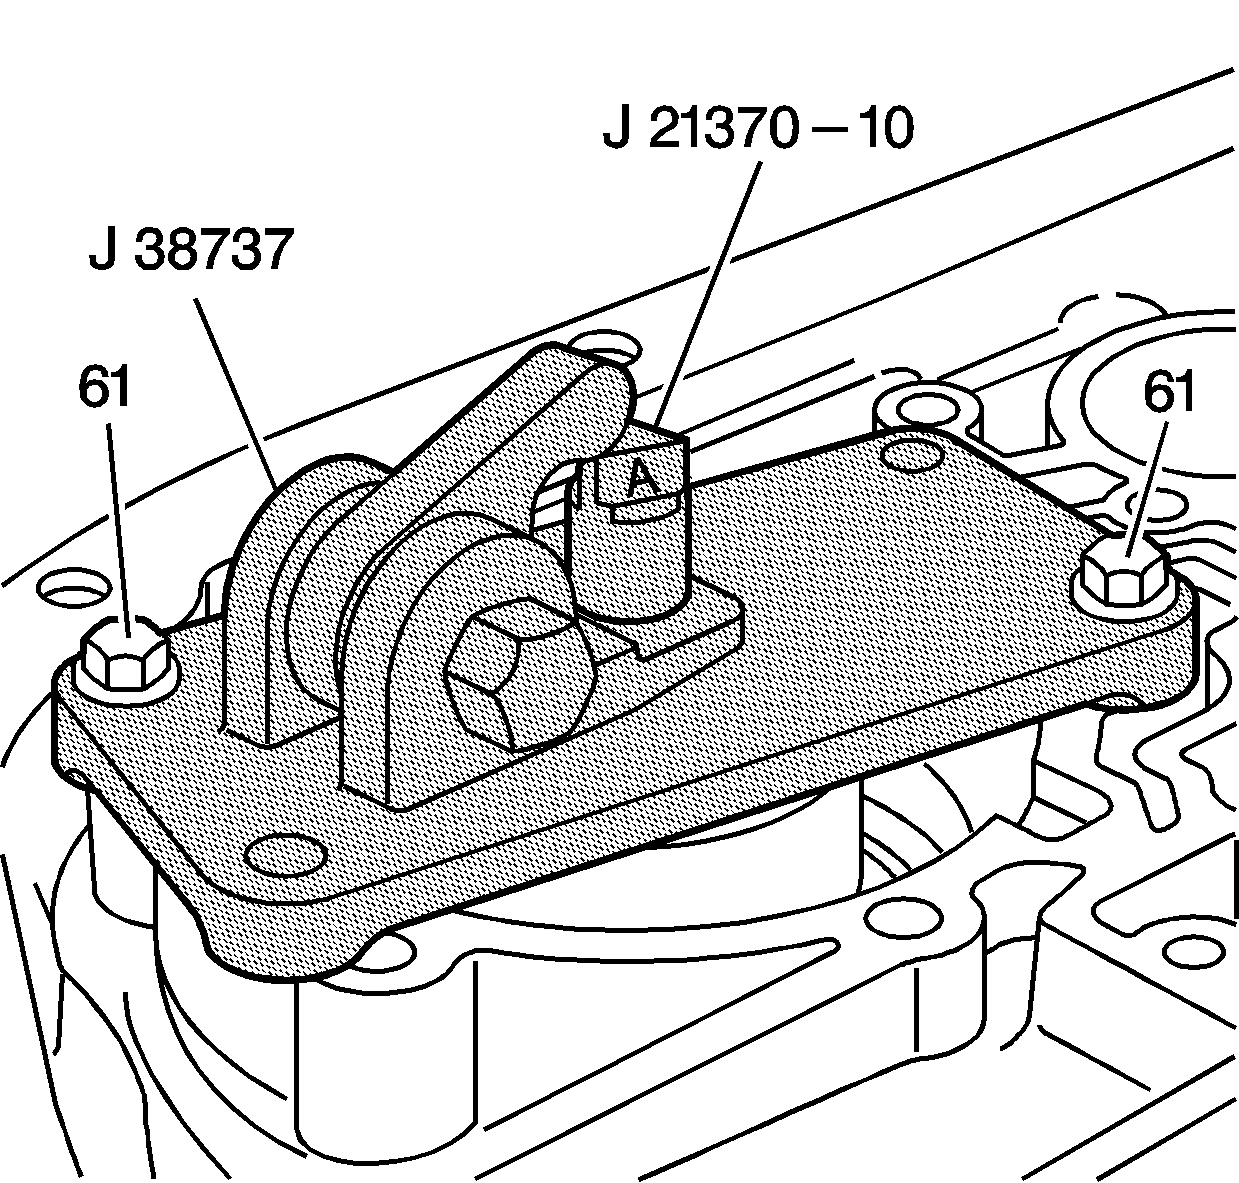
- Install the J 21370-10 into the low and reverse band servo pin bore.
- Position the J 38737 over the low and reverse band servo bore with the hex hub facing the parking pawl linkage.
- Fasten the J 38737 to the case with two low and reverse band servo cover bolts (61).
- Verify that the J 21370-10 moves freely in the J 38737 and in the low and reverse band servo pin bore.
- In order to determine the correct low and reverse band servo piston pin length, tighten the hex hub of the J 38737 .
- Observe the lands on the J 21370-10 in order to determine which land is even with the top edge of the J 38737 . Note the letter (A, B or C) stamped on the J 21370-10 .
- Refer to the Low and Reverse Band Servo Piston Pin Specification chart, in the Transmission General Specifications , in order to determine the correct pin length to use.
Notice: Use the correct fastener in the correct location. Replacement fasteners must be the correct part number for that application. Fasteners requiring replacement or fasteners requiring the use of thread locking compound or sealant are identified in the service procedure. Do not use paints, lubricants, or corrosion inhibitors on fasteners or fastener joint surfaces unless specified. These coatings affect fastener torque and joint clamping force and may damage the fastener. Use the correct tightening sequence and specifications when installing fasteners in order to avoid damage to parts and systems.
Tighten
Tighten the bolts to 24 N·m (18 lb ft).
Tighten
Tighten the hex hub of the
J 38737
to 34 N·m (25 lb ft).
