For 1990-2009 cars only
Accumulator Assembly, Spacer Plate, and Gaskets for Chevrolet Tahoe - 4WD 2000
Tools Required
| • | J 25025-5 Guide Pin Set |
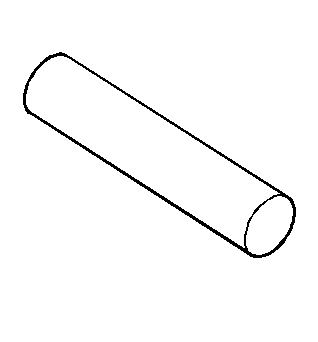
| • | J 36850 Transjel® Transmission Assembly Lubricant |

Removal Procedure
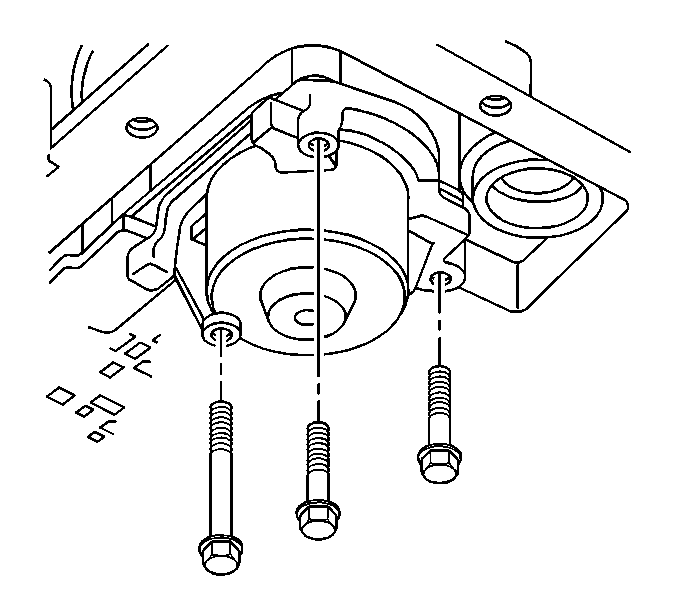
- Remove the accumulator cover bolts.
- Remove the 1-2 accumulator cover and pin, piston, and springs.
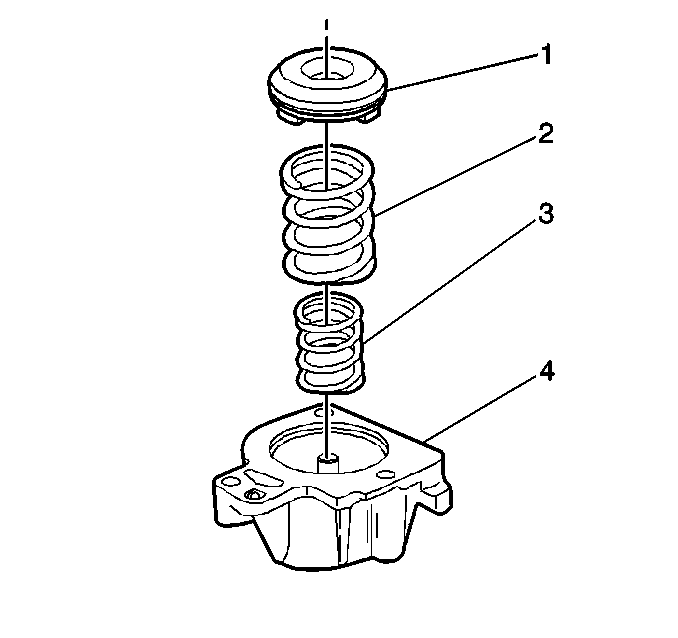
- Remove the 1-2 accumulator inner (3) and outer (2) piston spring.
- Remove the 1-2 accumulator piston (1).
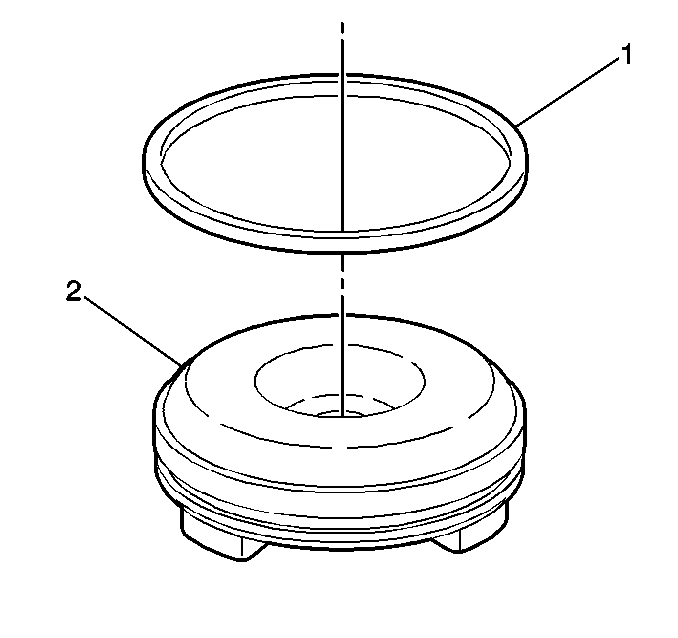
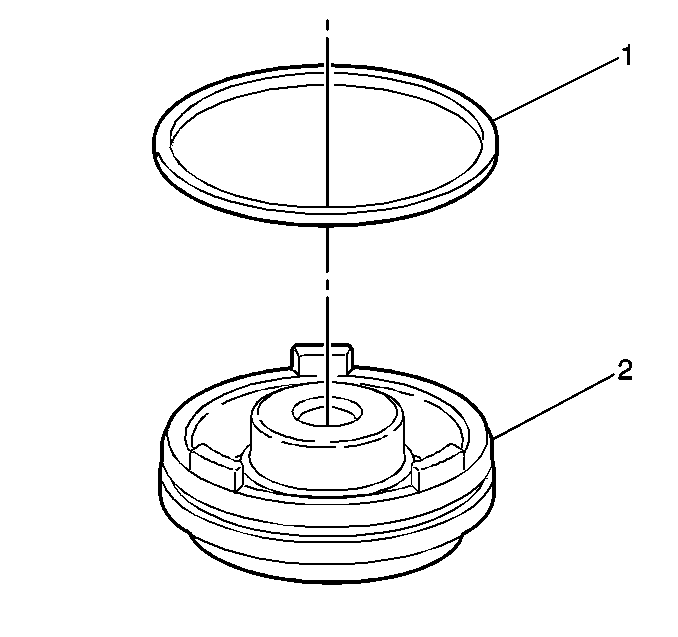
- Remove the 1-2 accumulator piston oil seal ring (1) from the 1-2 accumulator piston (2).
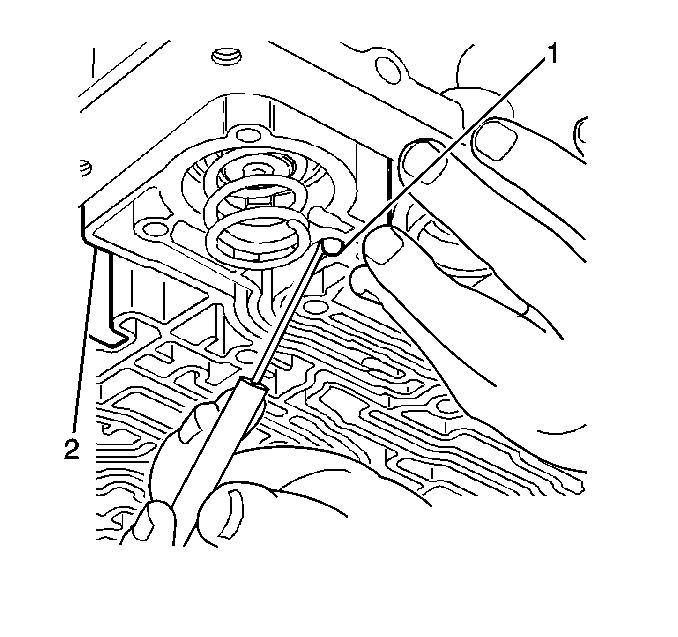
- If required, remove the checkball (1) from the valve body (2).
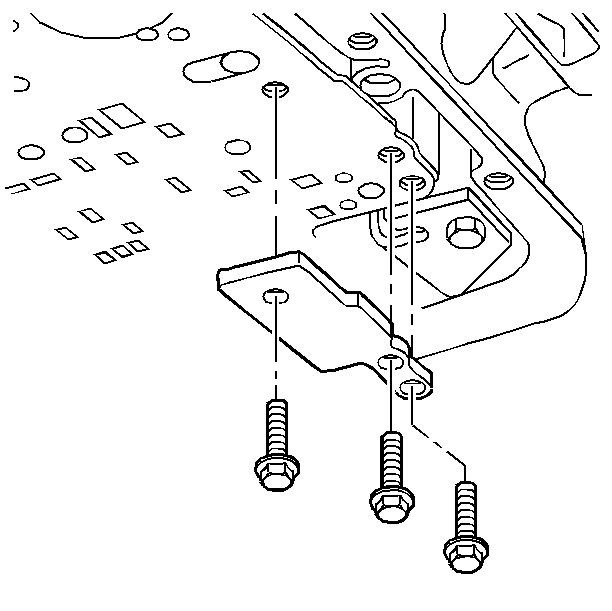
- Remove the oil pass cover bolts.
- Remove the oil pass cover.
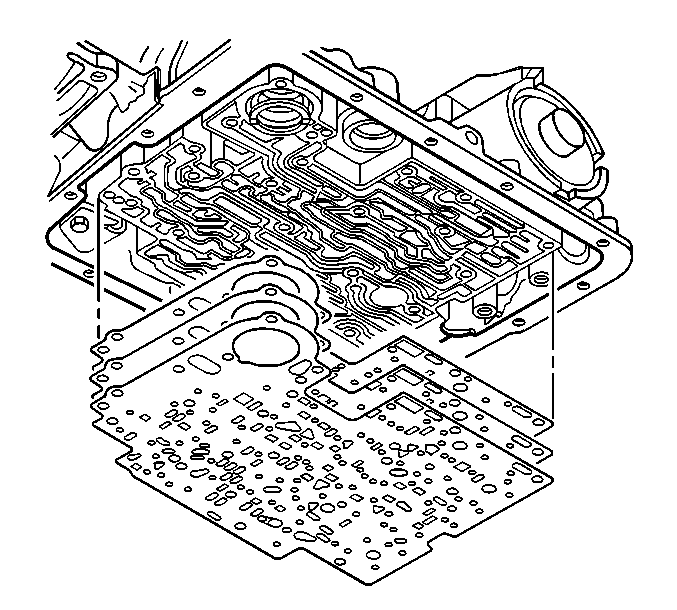
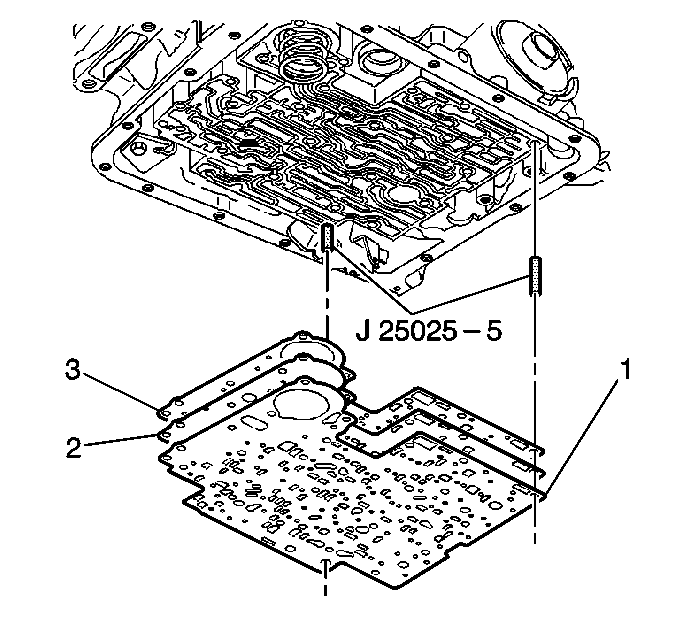
- Remove the spacer plate, case gasket, and valve body gasket from the valve body.
- Check the solenoid screens (1 and 2) on the spacer plate for damage or debris.
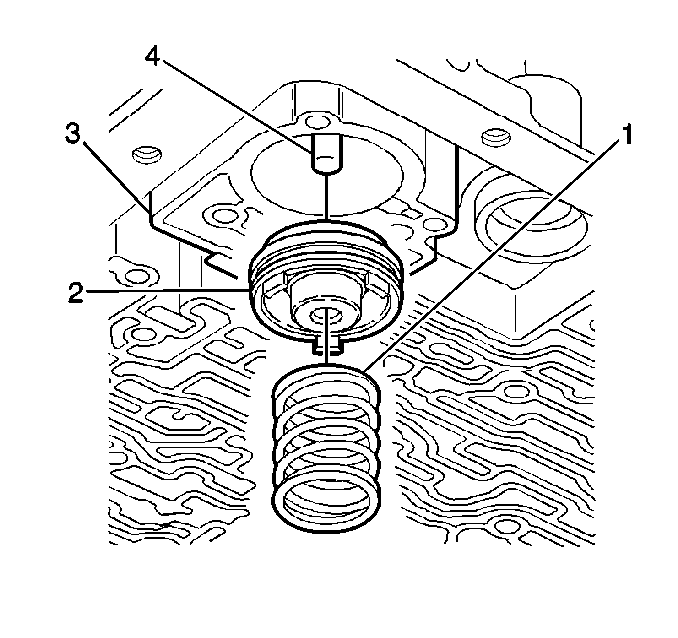
- Remove the 3-4 accumulator spring (1) from the valve body (3).
- Remove the 3-4 accumulator piston (2) from the valve body (3).
- Remove the accumulator pin (4) from the valve body (3).
- Remove the 3-4 accumulator piston oil ring seal from the 3-4 accumulator piston (2).
- Remove the remaining control valve body if required. Refer to Valve Body .
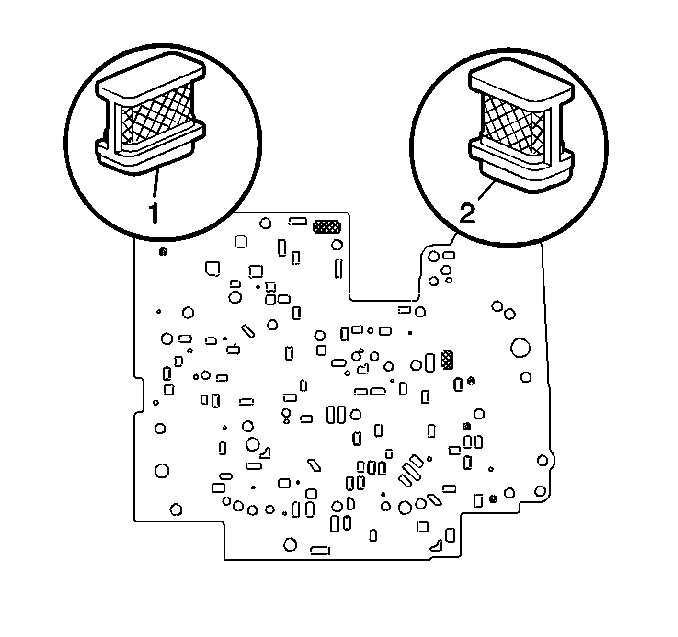
Replace the solenoid screens if necessary.
Installation Procedure
- Ensure the upper half of the control valve body is installed. Refer to Valve Body .
- Install the 3-4 accumulator piston oil ring seal (1) onto the 3-4 accumulator piston (2).
- Install the 3-4 accumulator pin (4) into the valve body (3).
- Install the 3-4 accumulator piston (2) onto the pin (4).
- Install the 3-4 accumulator piston spring (1).
- Install the checkball (1) into the valve body (2).
- Install the J 25025-5 into the valve body.
- Install the case gasket (3) and the valve body gasket (1) to the spacer plate (2). The case gasket is identified by a C. The valve body gasket is identified by a V.
- Use the J 36850 in order to retain the gaskets (3) to the spacer plate (2).
- Install the spacer plate and the gaskets to the transmission case.
- Install the oil pass cover and the oil pass cover bolts.
- Install the 1-2 accumulator piston oil ring seal (1) onto the 1-2 accumulator piston (2).
- Install the 1-2 accumulator inner (3) and outer (2) springs into the accumulator housing (4).
- Install the 1-2 accumulator piston (1).
- Install the 1-2 accumulator cover and the cover bolts.
- Remove the J 25025-5 from the valve body.
- Install the remainder of the valve body. Refer to Valve Body .
- Reset the TAP values. Refer to Adapt Function .
Use a small amount of J 36850 in order to keep the checkball in the valve body.
Notice: Refer to Fastener Notice in the Preface section.
Tighten
Tighten the bolts to 11 N·m (8 lb ft).
Tighten
Tighten the bolts to 11 N·m (8 lb ft).
Important: It is recommended that the transmission adaptive pressure (TAP) information be reset.
Resetting the TAP values using a scan tool will erase all learned values in all cells. As a result, the ECM, PCM or TCM will need to relearn the TAP values. Transmission performance may be affected as new TAP values are learned,