For 1990-2009 cars only
Piston, Connecting Rod, and Bearing Replacement for Pontiac Wave 2005
Tools Required
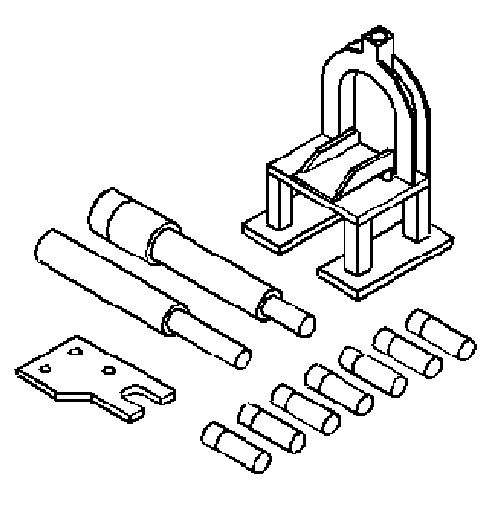
| • | J 24086-B (KM 427) Piston Pin Remover/Installer Set |
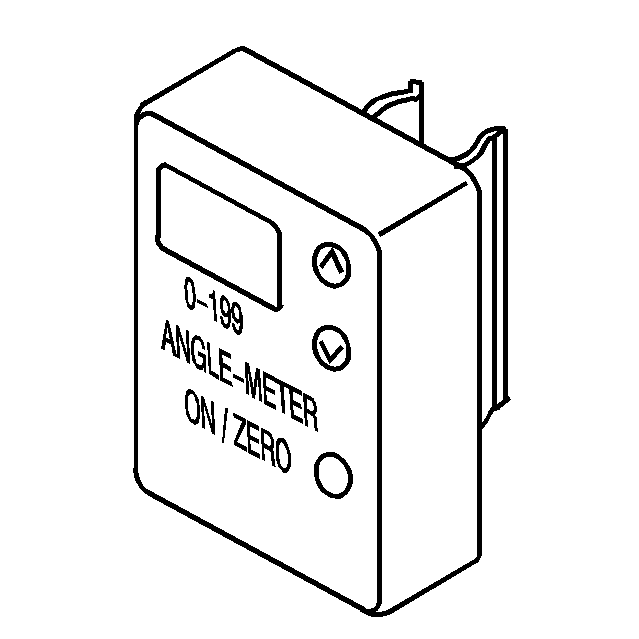
| • | J 45059 Angle Meter |
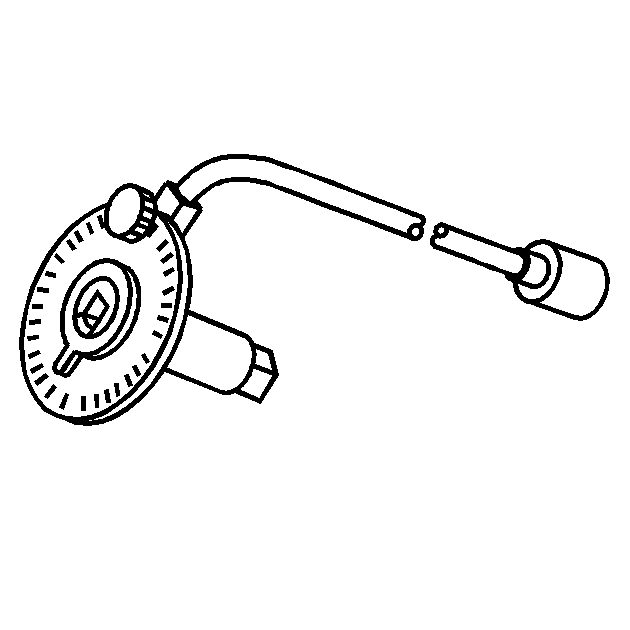
| • | KM-470-B Angular Torque Gage |
Removal Procedure
- Remove the cylinder head with the intake manifold and the exhaust manifold attached. Refer to Cylinder Head Replacement .
- Remove the oil pan. Refer to Oil Pan Replacement .
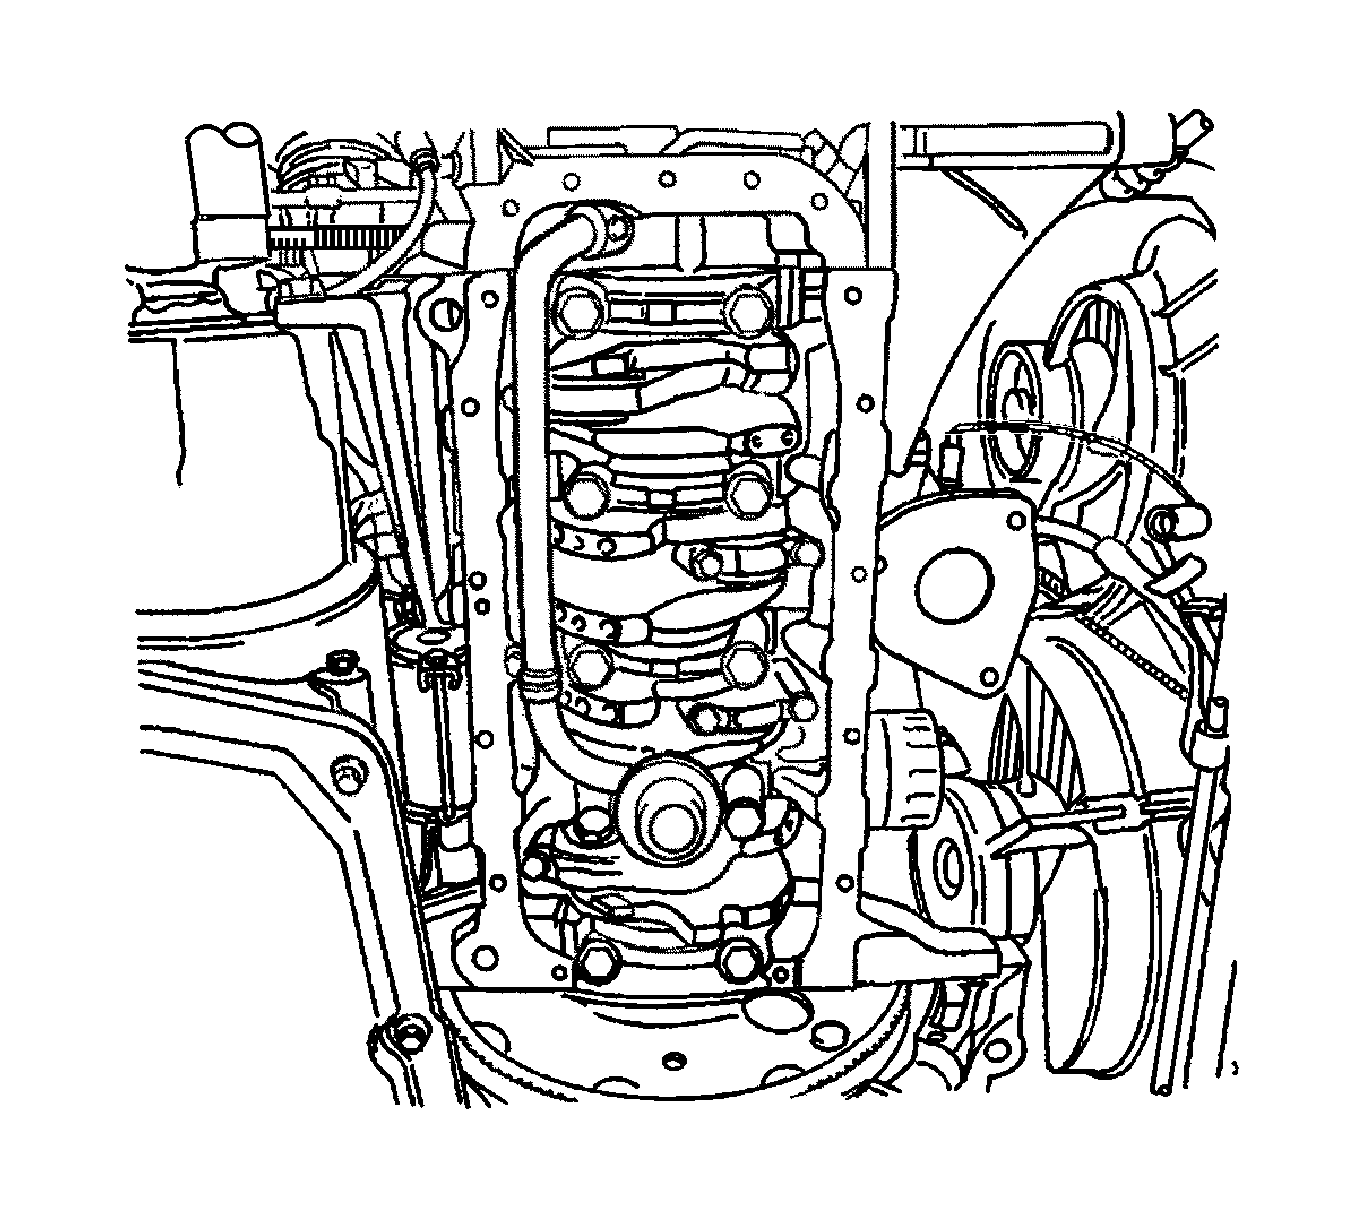
- Remove the oil suction pipe bolts.
- Remove the oil suction pipe.
- Move the piston to the bottom of the piston stroke.
- Mark the connecting rod cap for position.
- Remove the connecting rod cap bolts.
- Remove the connecting rod cap and the lower connecting rod bearing.
- Remove the upper piston connecting rod bearing.
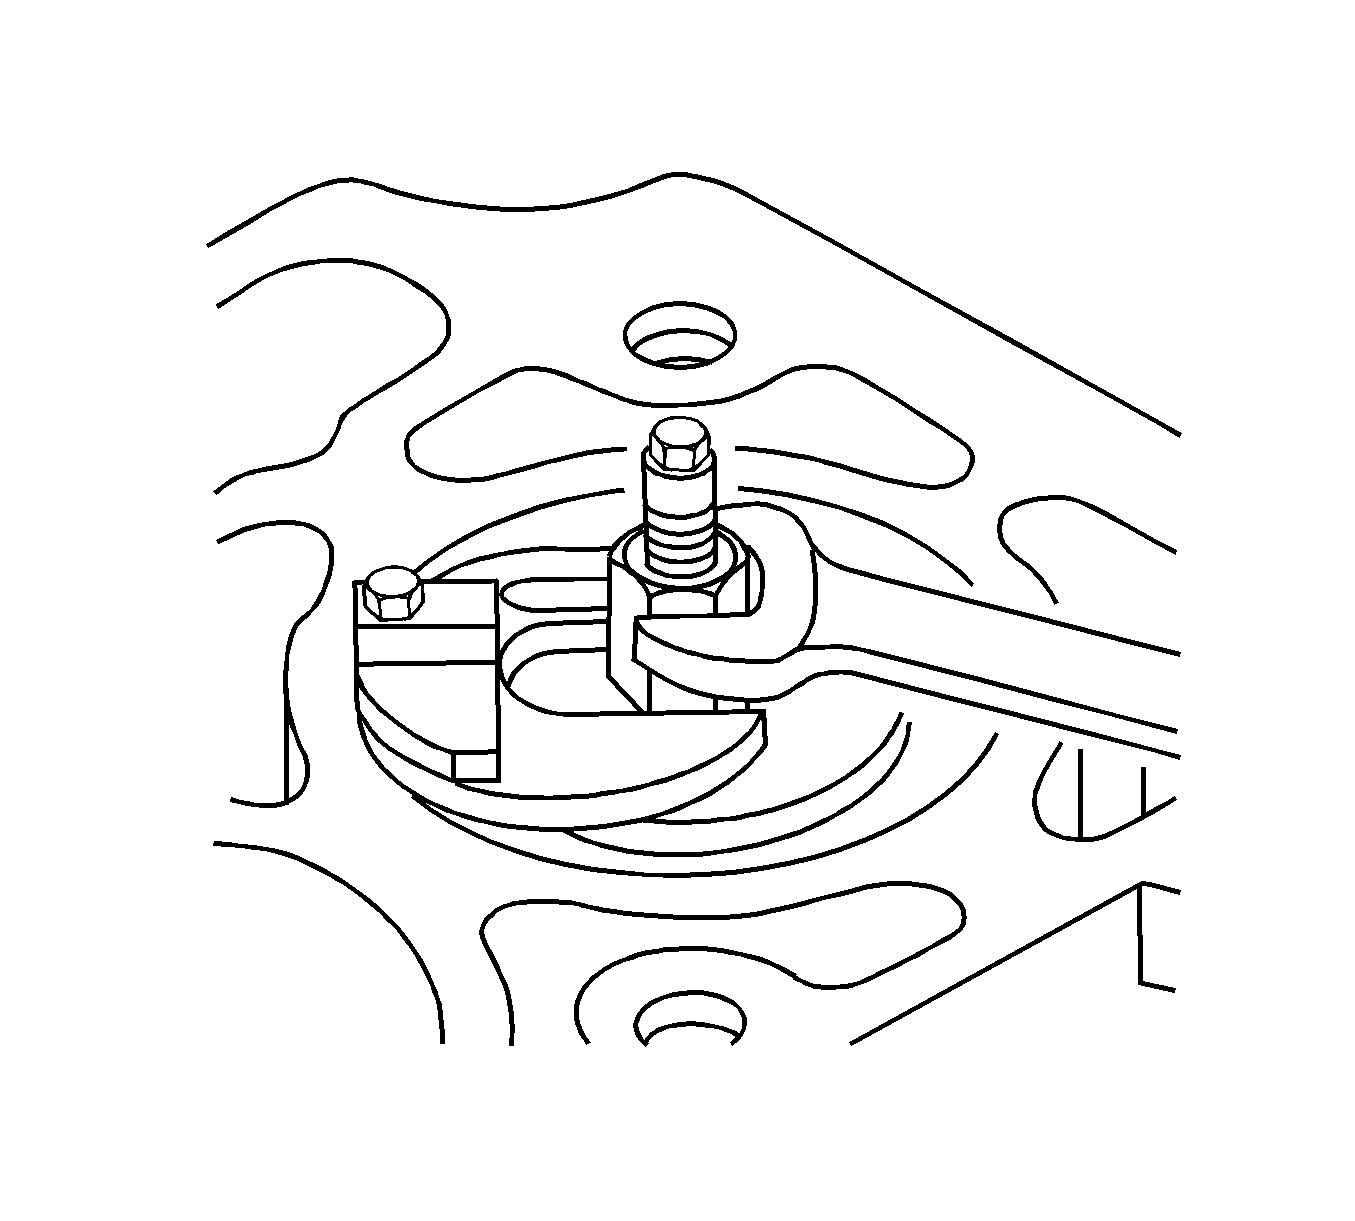
- Ridge ream the cylinder wall.
- Remove the piston.
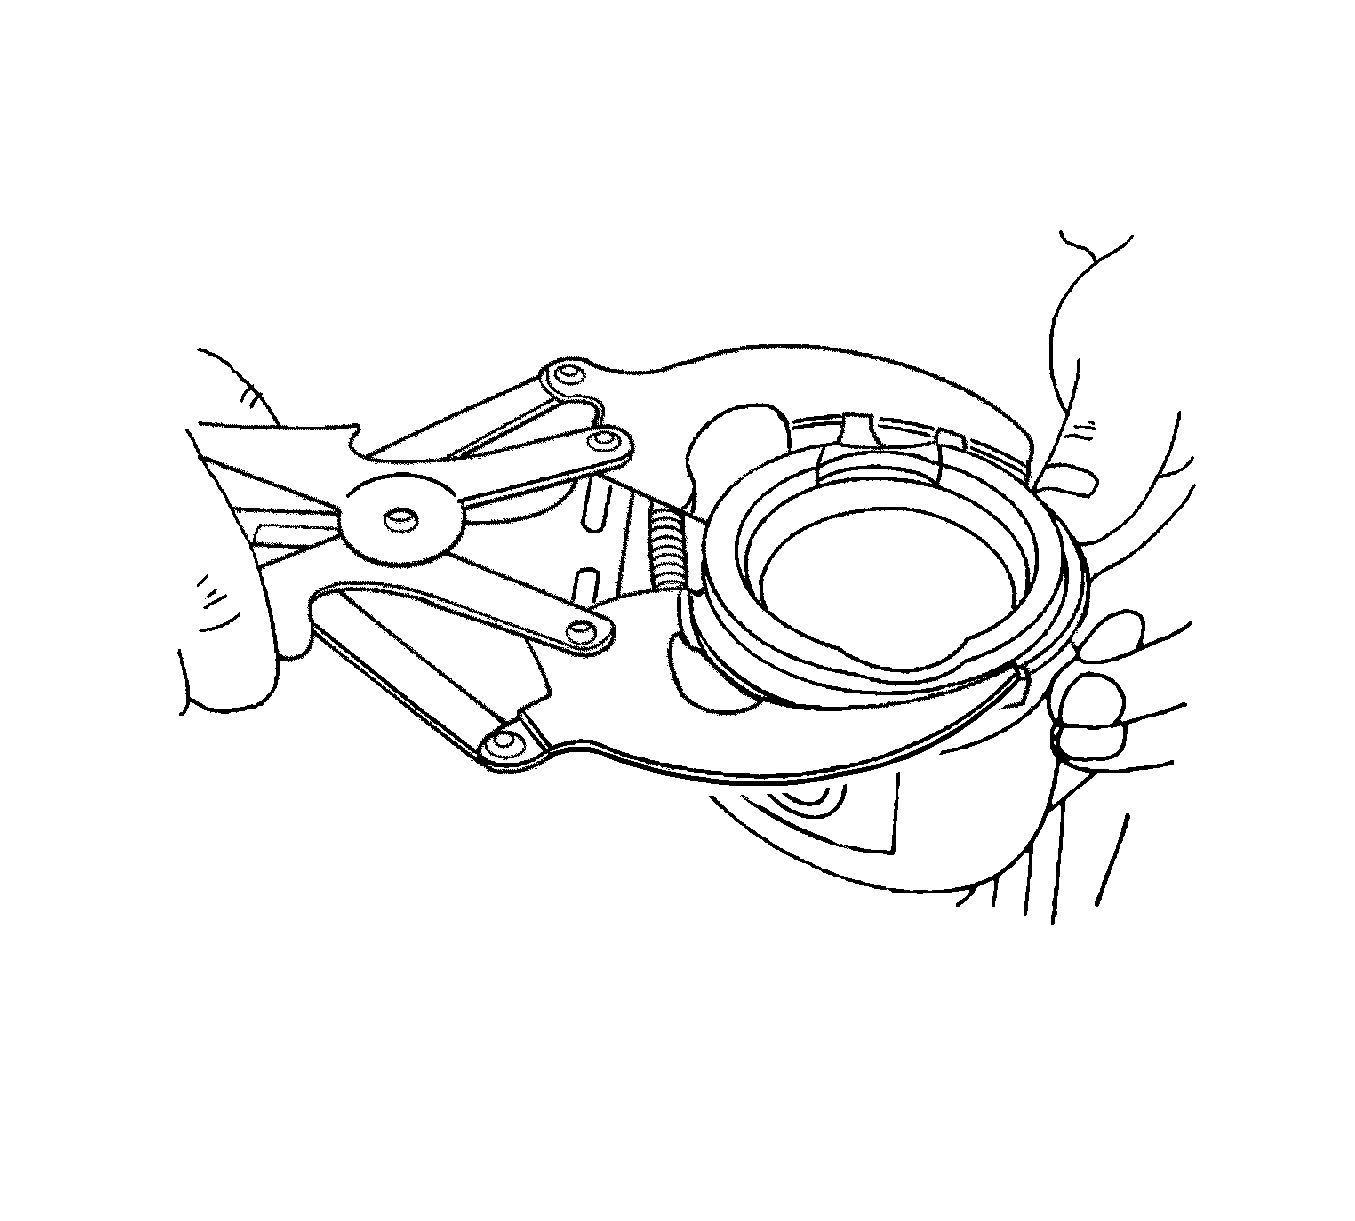
- Use a piston ring expander tool to expand the piston rings.
- Remove the piston rings.
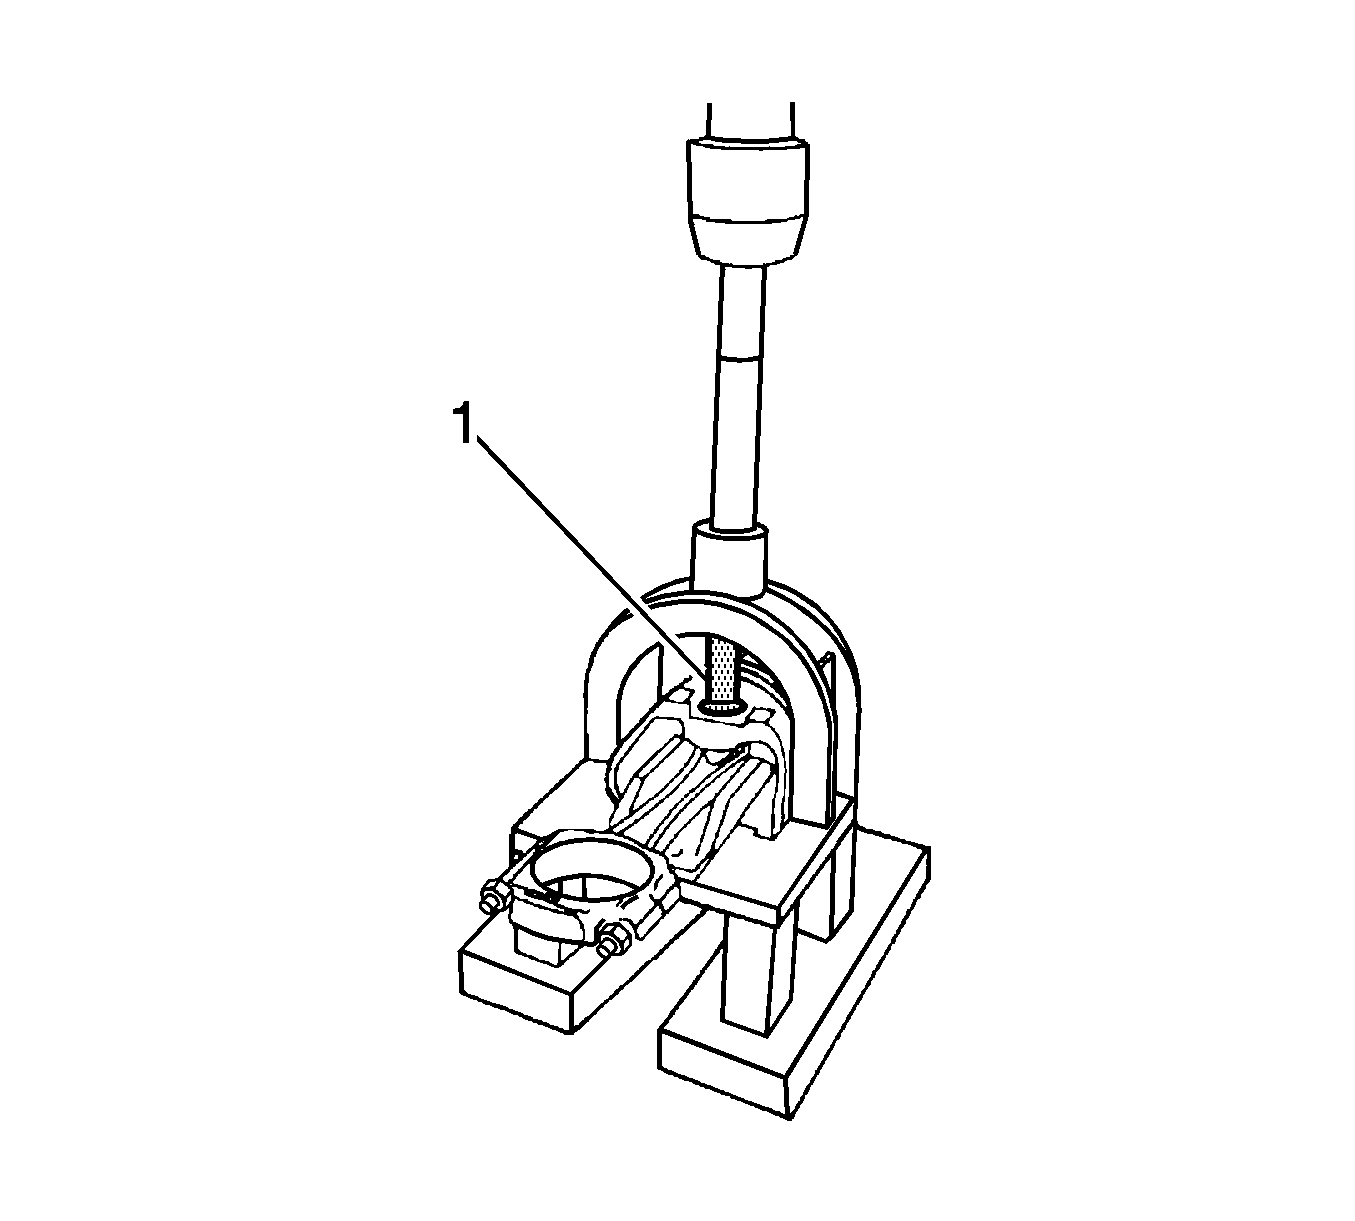
- Remove the piston pin from the piston and connecting rod assembly using J 24086-B (1).
- Separate the piston from the connecting rod.
Caution: Handle the piston carefully. Worn piston rings are sharp and may cause bodily injury.
Installation Procedure
- Align the notch on the piston and the connecting rod so that the proper sides will be facing the front of the engine.
- Install the piston pin guide through the piston and the connecting rod.
- Coat the piston pin with clean oil.
- Install the piston pin into the opposite side of the piston.
- Install the piston pin into the piston and connecting rod assembly using J 24086-B (1).
- Select a set of new piston rings.
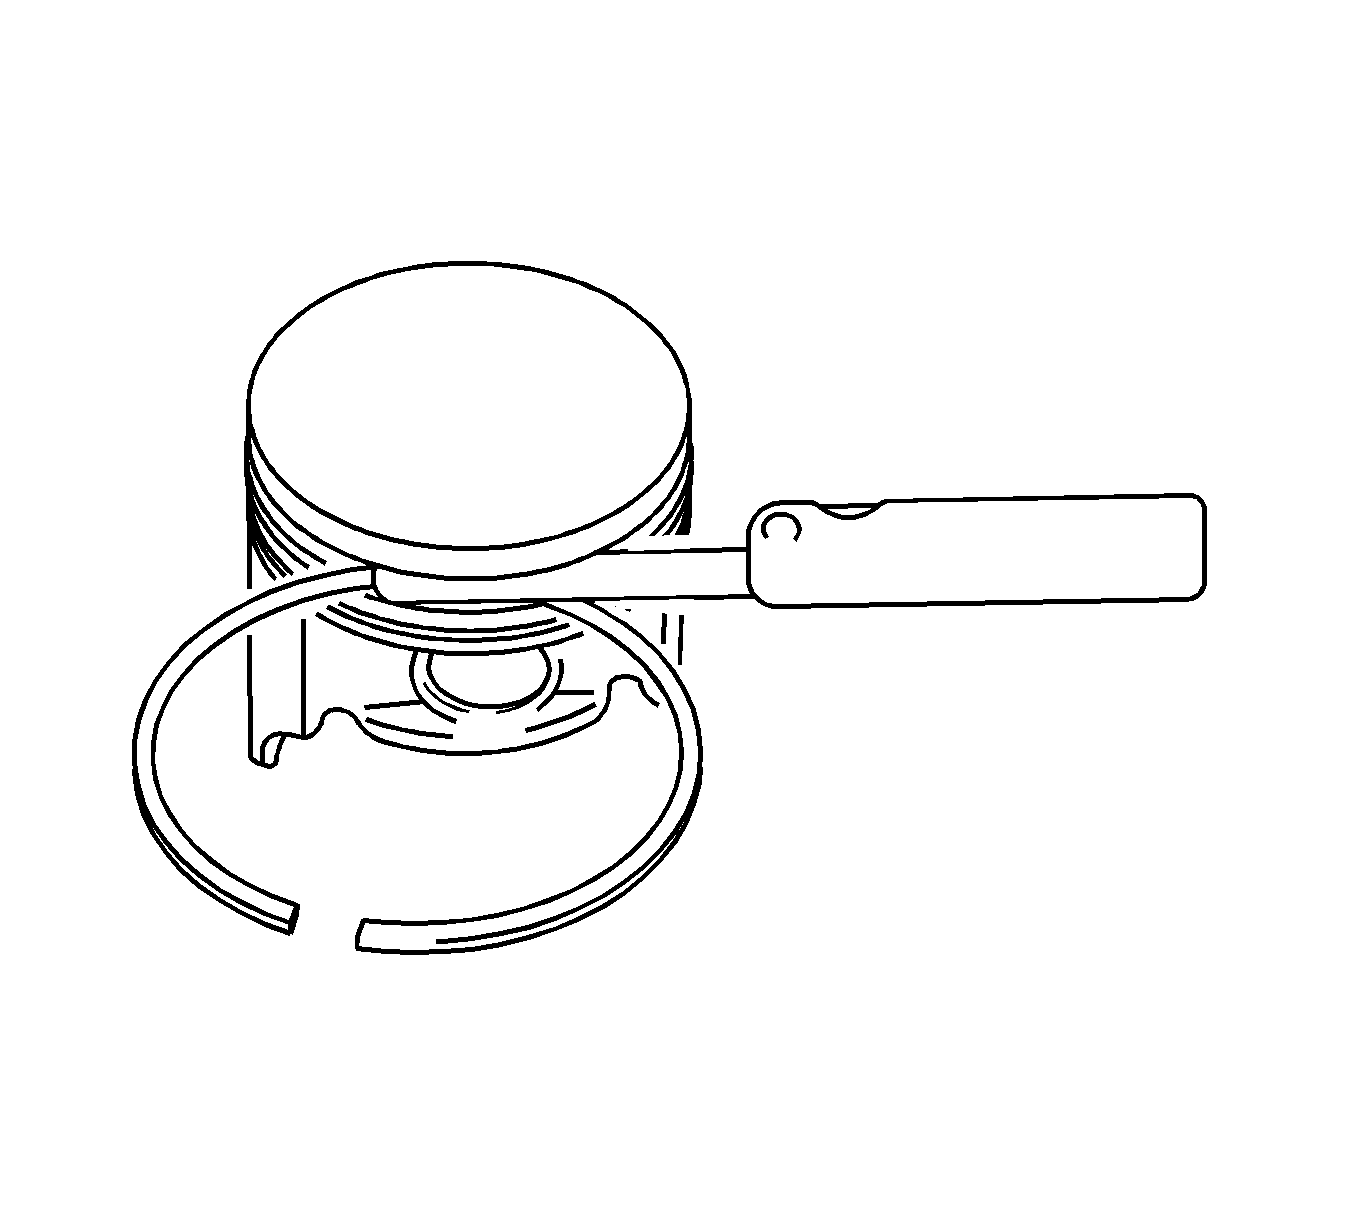
- Measure the piston ring gap using a feeler gage. Refer to Engine Mechanical Specifications .
- Increase the piston ring gap by carefully filing off excess material if the piston ring gap is below specifications.
- Measure the piston ring side clearance using a feeler gage. Refer to Engine Mechanical Specifications .
- If the piston ring is too thick, try another piston ring.
- If no piston ring can be found that fits to specifications, the piston ring may be ground to size with emery paper placed on a sheet of glass.
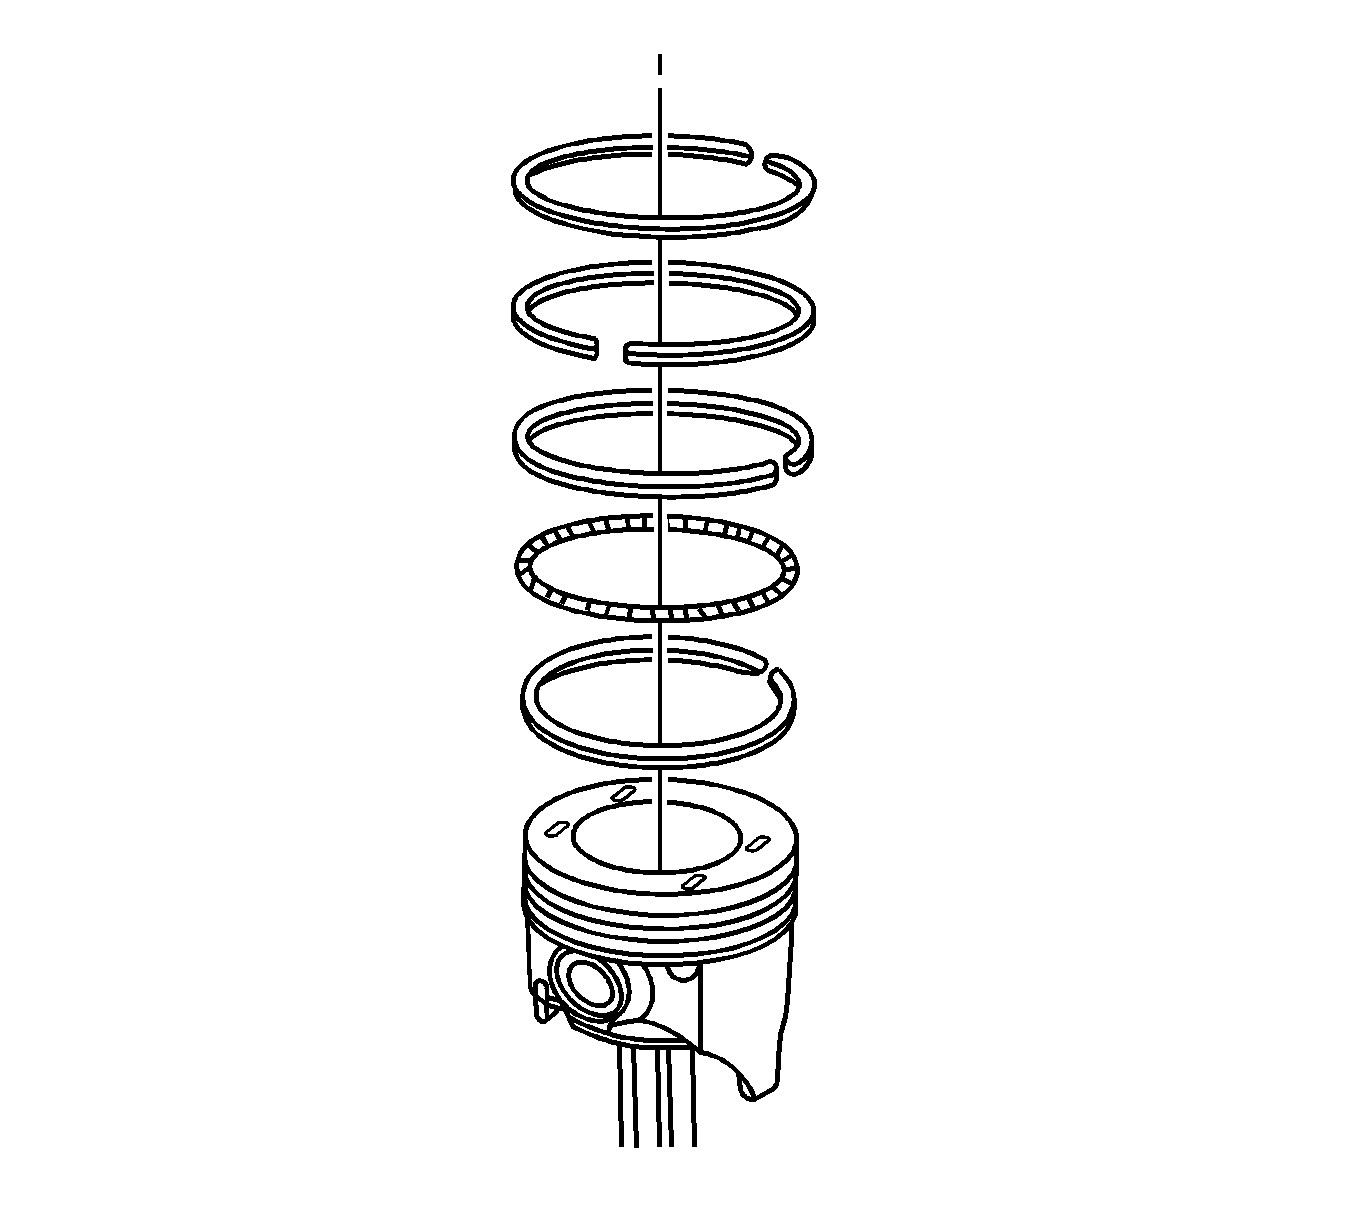
- Install a piston oil ring, the expander, then the second piston oil ring to the bottom ring groove of the piston.
- Install the second compression ring to the middle ring groove of the piston.
- Install the top compression ring to the top ring groove of the piston.
- Use a piston ring expander to install the piston rings. Do not expand the piston rings beyond the expansion necessary for installation.
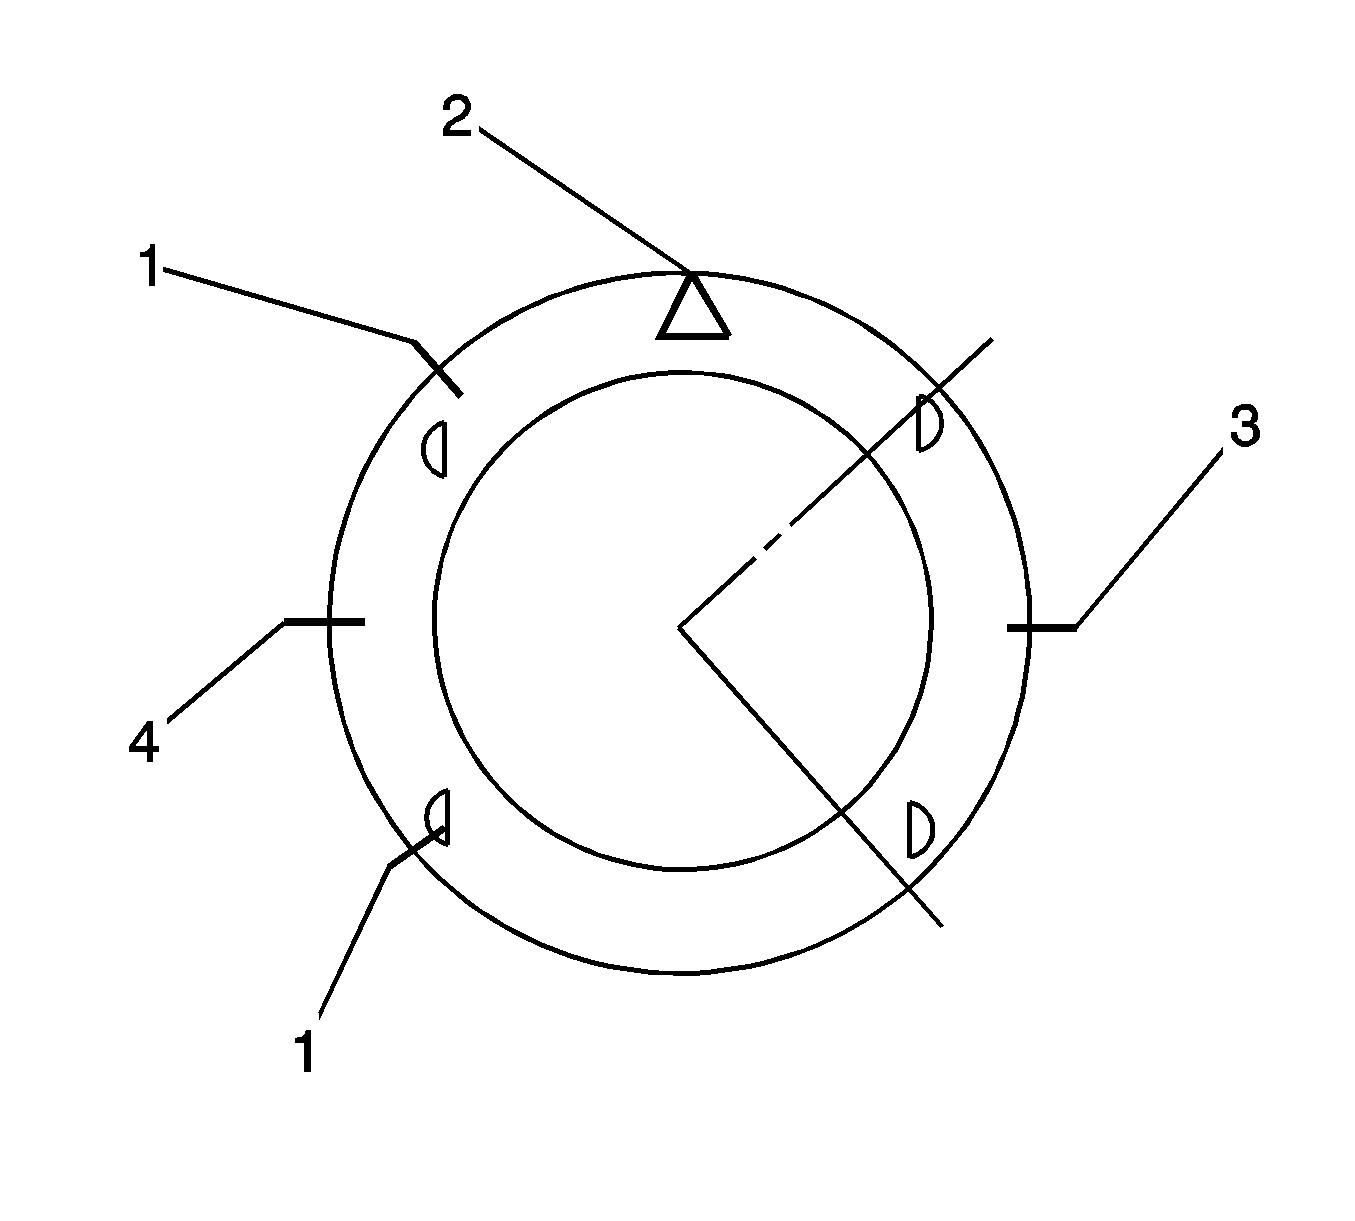
- Stagger the piston oil rings (3) , the oil ring rail gaps (1), the second compression ring (4), and the top compression ring (3) in relation to the notch on the top of the piston (2).
- Lubricate the cylinder wall and the piston rings with clean engine oil.
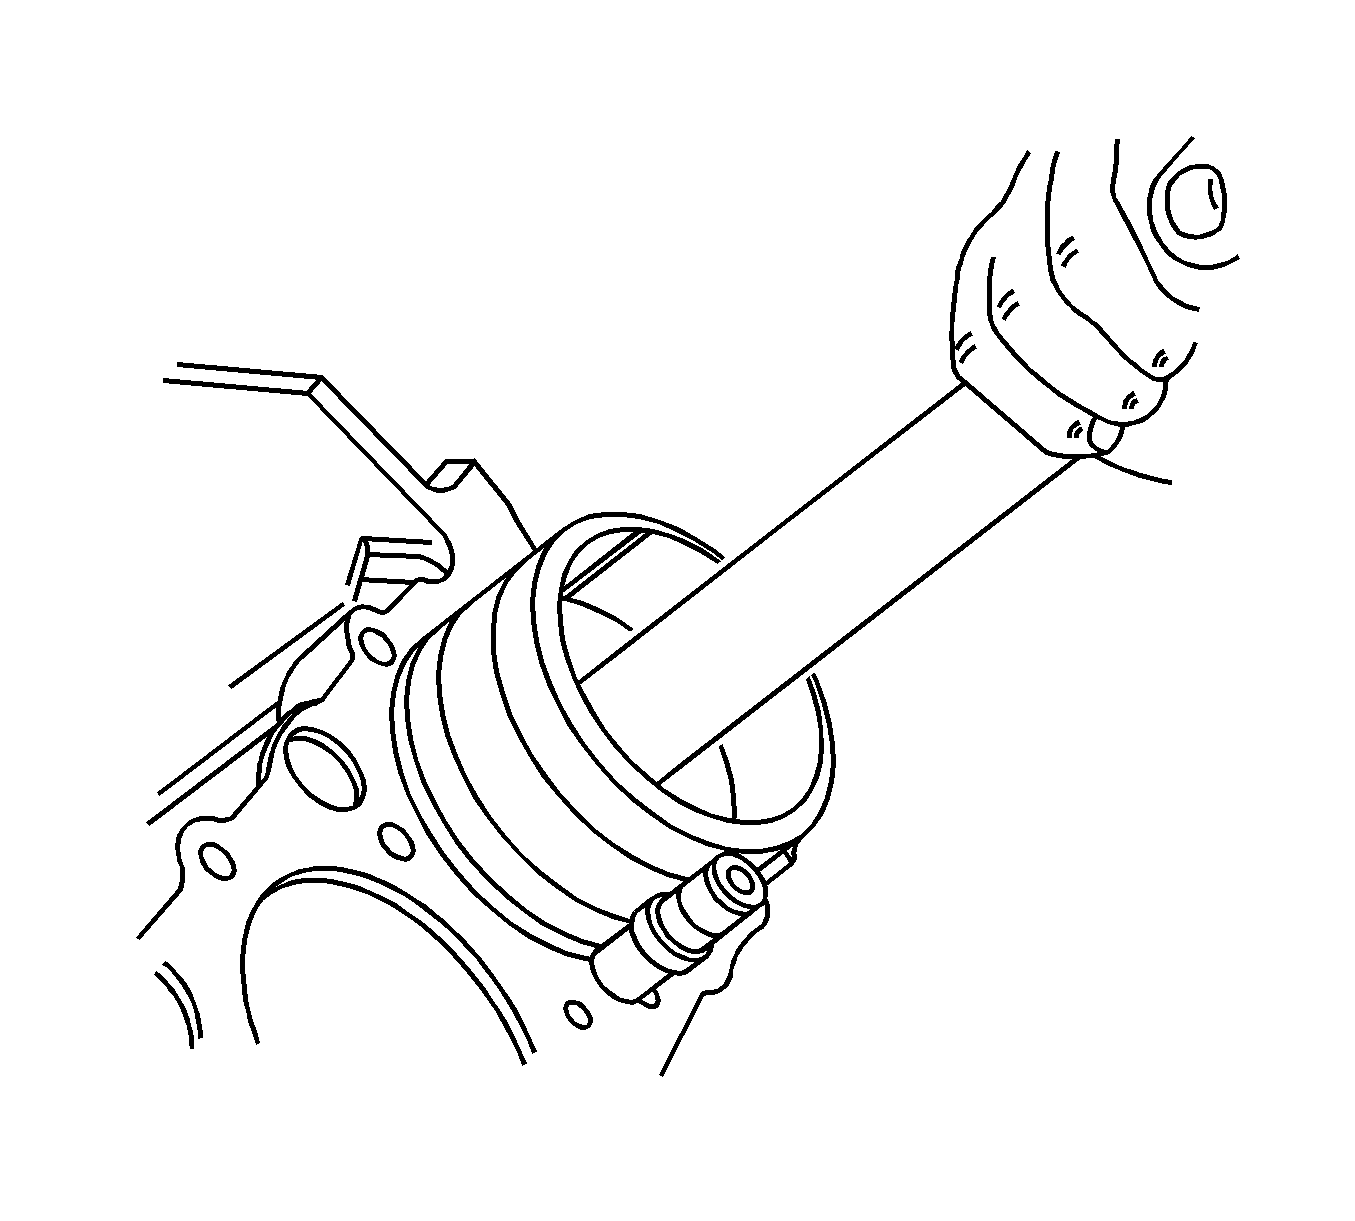
- Install the piston using a ring compressor and a wood handle. Guide the lower connecting rod end to prevent damaging the crankshaft journal.
- Install the connecting rod cap and bearings. Refer to Crankshaft and Bearing Cleaning and Inspection .
- Install the connecting rod cap bolts.
- Install the oil suction pipe.
- Install the oil suction pipe bolts.
- Install the oil pan. Refer to Oil Pan Replacement .
- Install the cylinder head with the intake manifold and the exhaust manifold attached. Refer to Cylinder Head Replacement .
Notice: Refer to Fastener Notice in the Preface section.
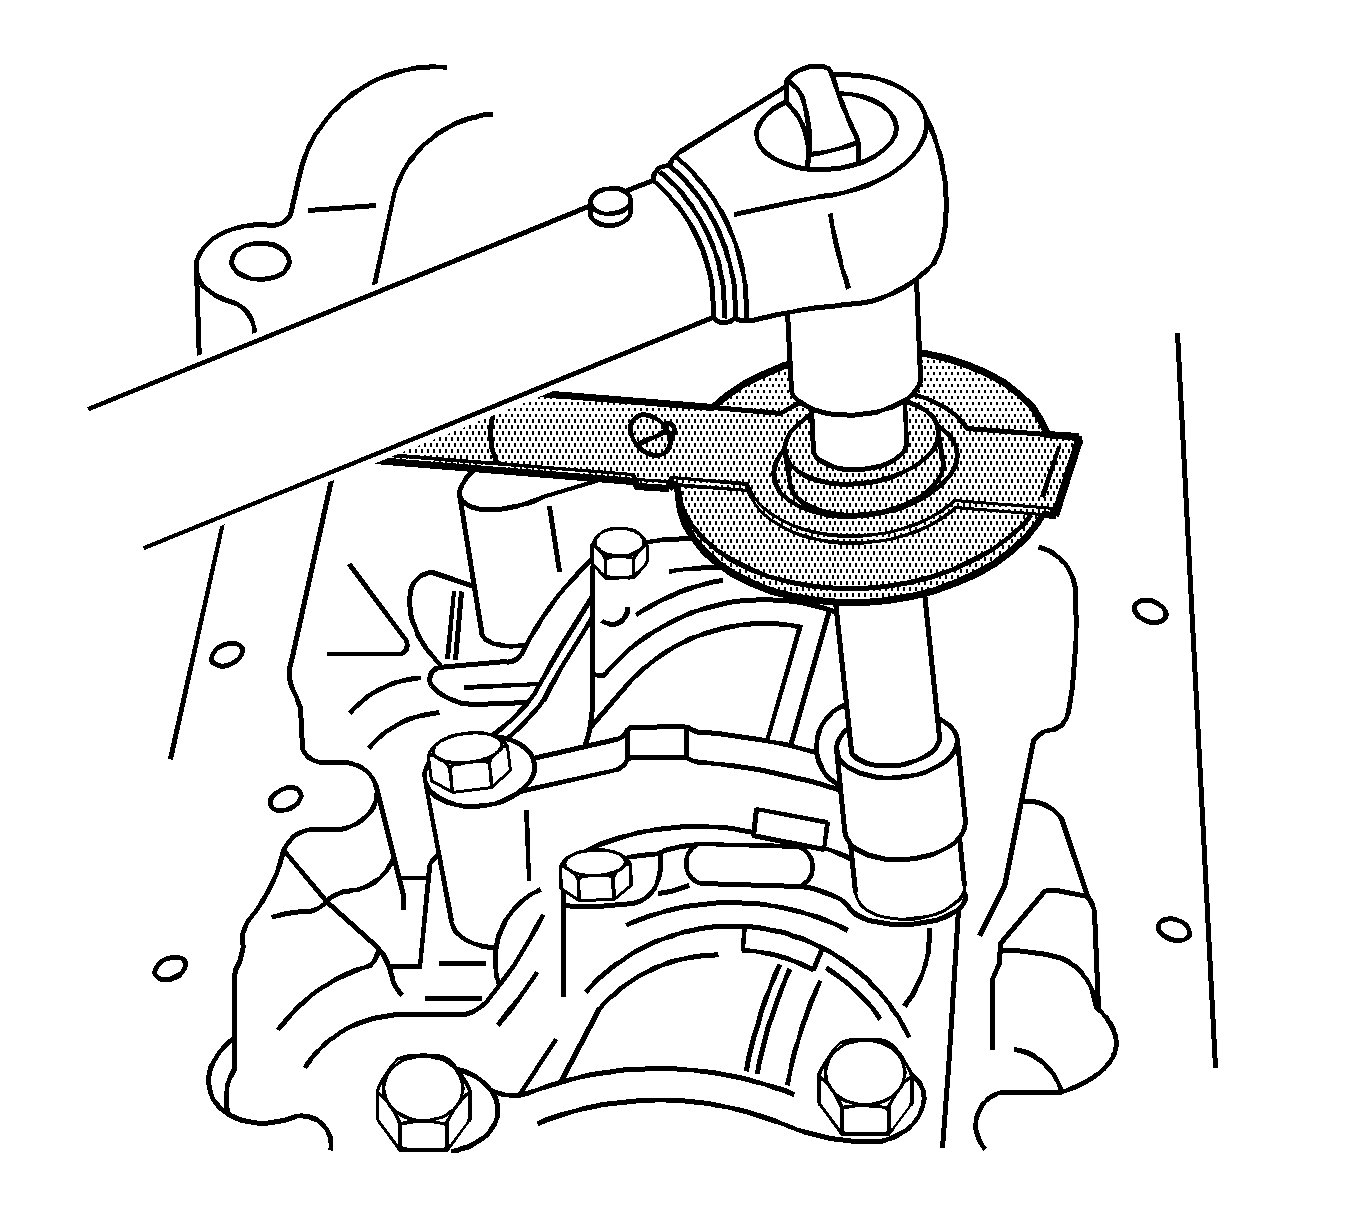
Tighten
Tighten the connecting rod bearing cap bolts to 25 N·m (18 lb ft). Using the
J 45059
, tighten the bolts one turn of 30 degrees plus one
turn of 15 degrees.
Tighten
Tighten the oil suction pipe bolts to 10 N·m (89 lb in).
